

WordPress Hosting: Step-by-Step Migration Guide
Welcome!
This guide will help you seamlessly migrate your WordPress website into your new hosting environment.
You have two simple options for migration, choose the one that best suits your needs.
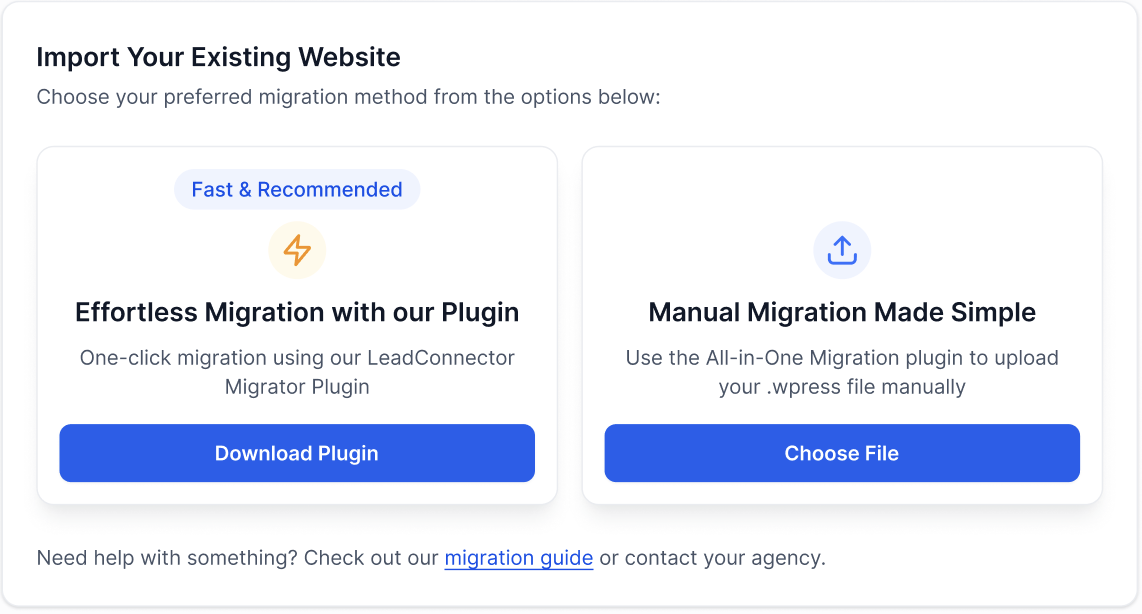
Option 1: Effortless Migration with the LC Migrator Plugin
Best For: Fast, non-technical migrations with minimal effort
Recommended: ✅ Yes
How to Use:
Step 1: Download the LC Migrator Plugin
Click Download Plugin to download a ZIP file.
This ZIP file will be used to migrate your site.
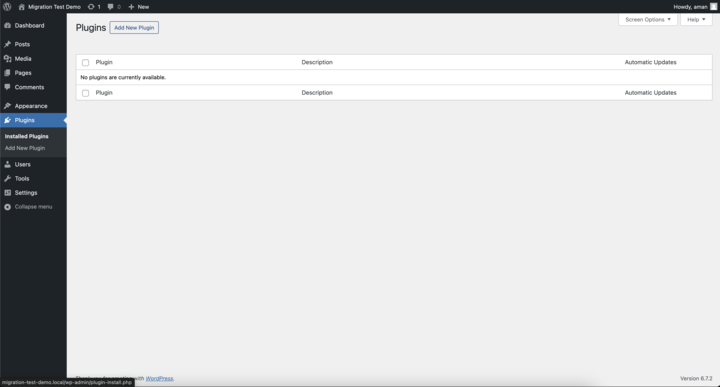
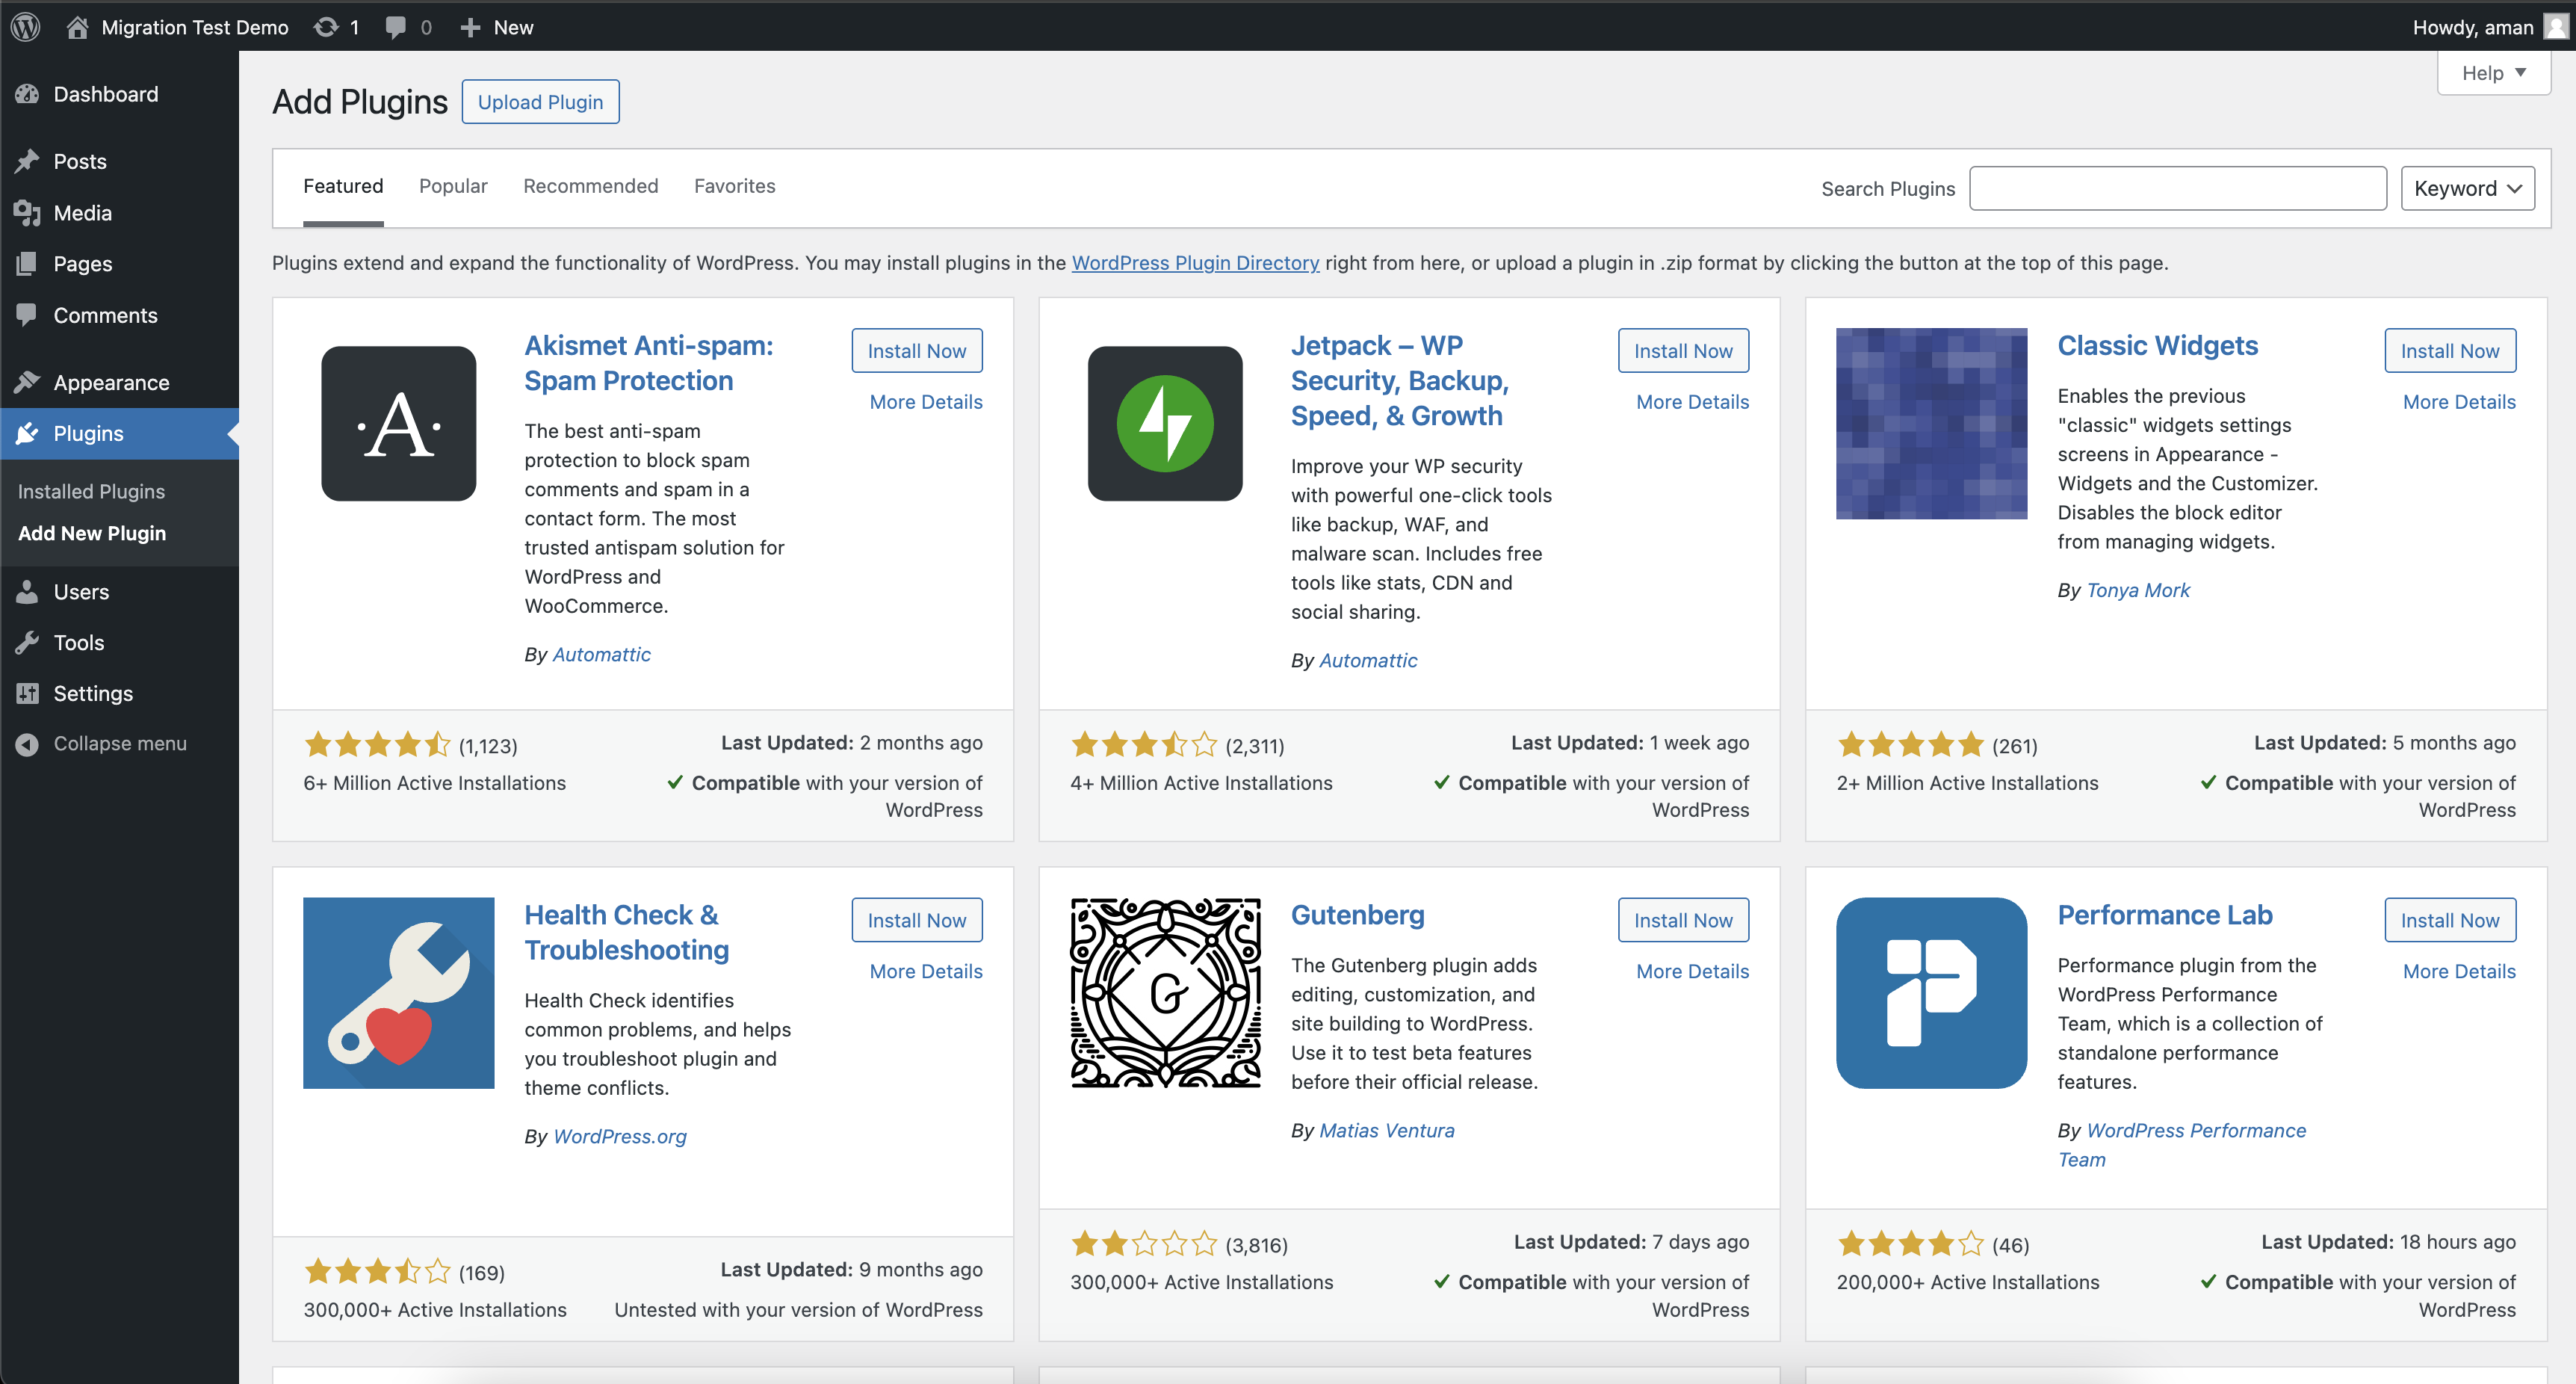
Step 2: Upload the Plugin to the WordPress Site You Want to Migrate
Log in to the WordPress dashboard of the site you want to migrate.
Go to Plugins → Add New.
Click Upload Plugin at the top.
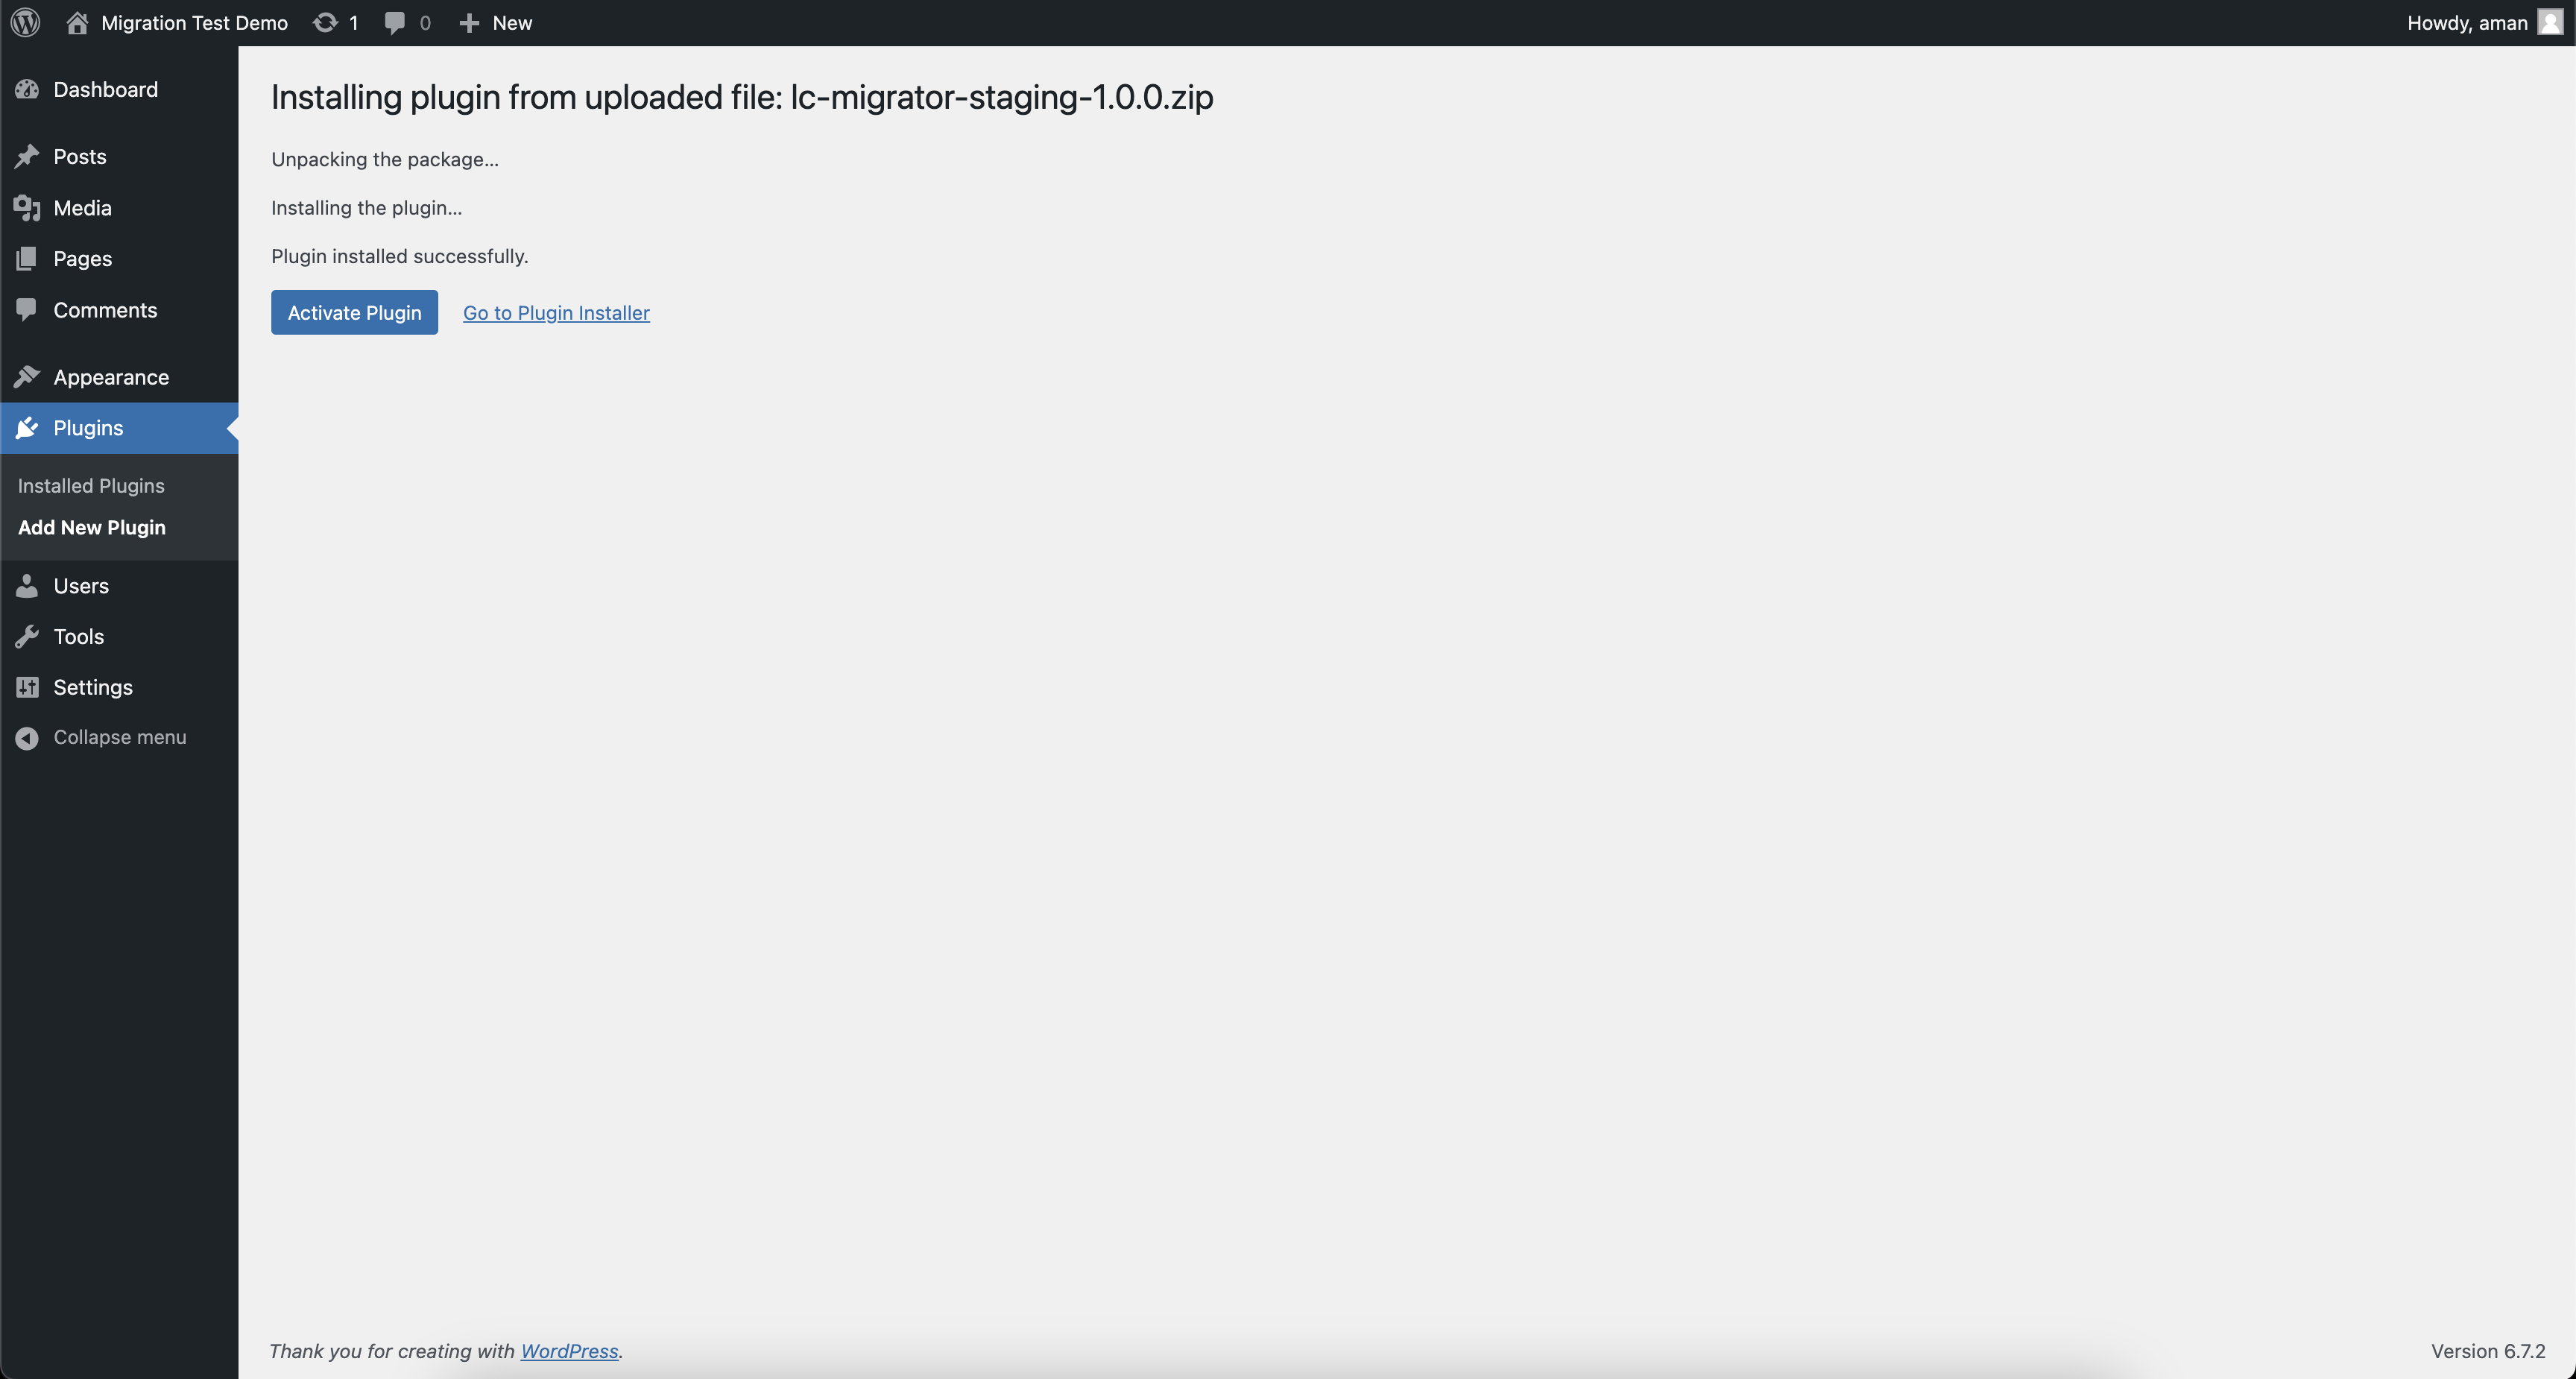
Upload the ZIP file you downloaded and click Install Now.
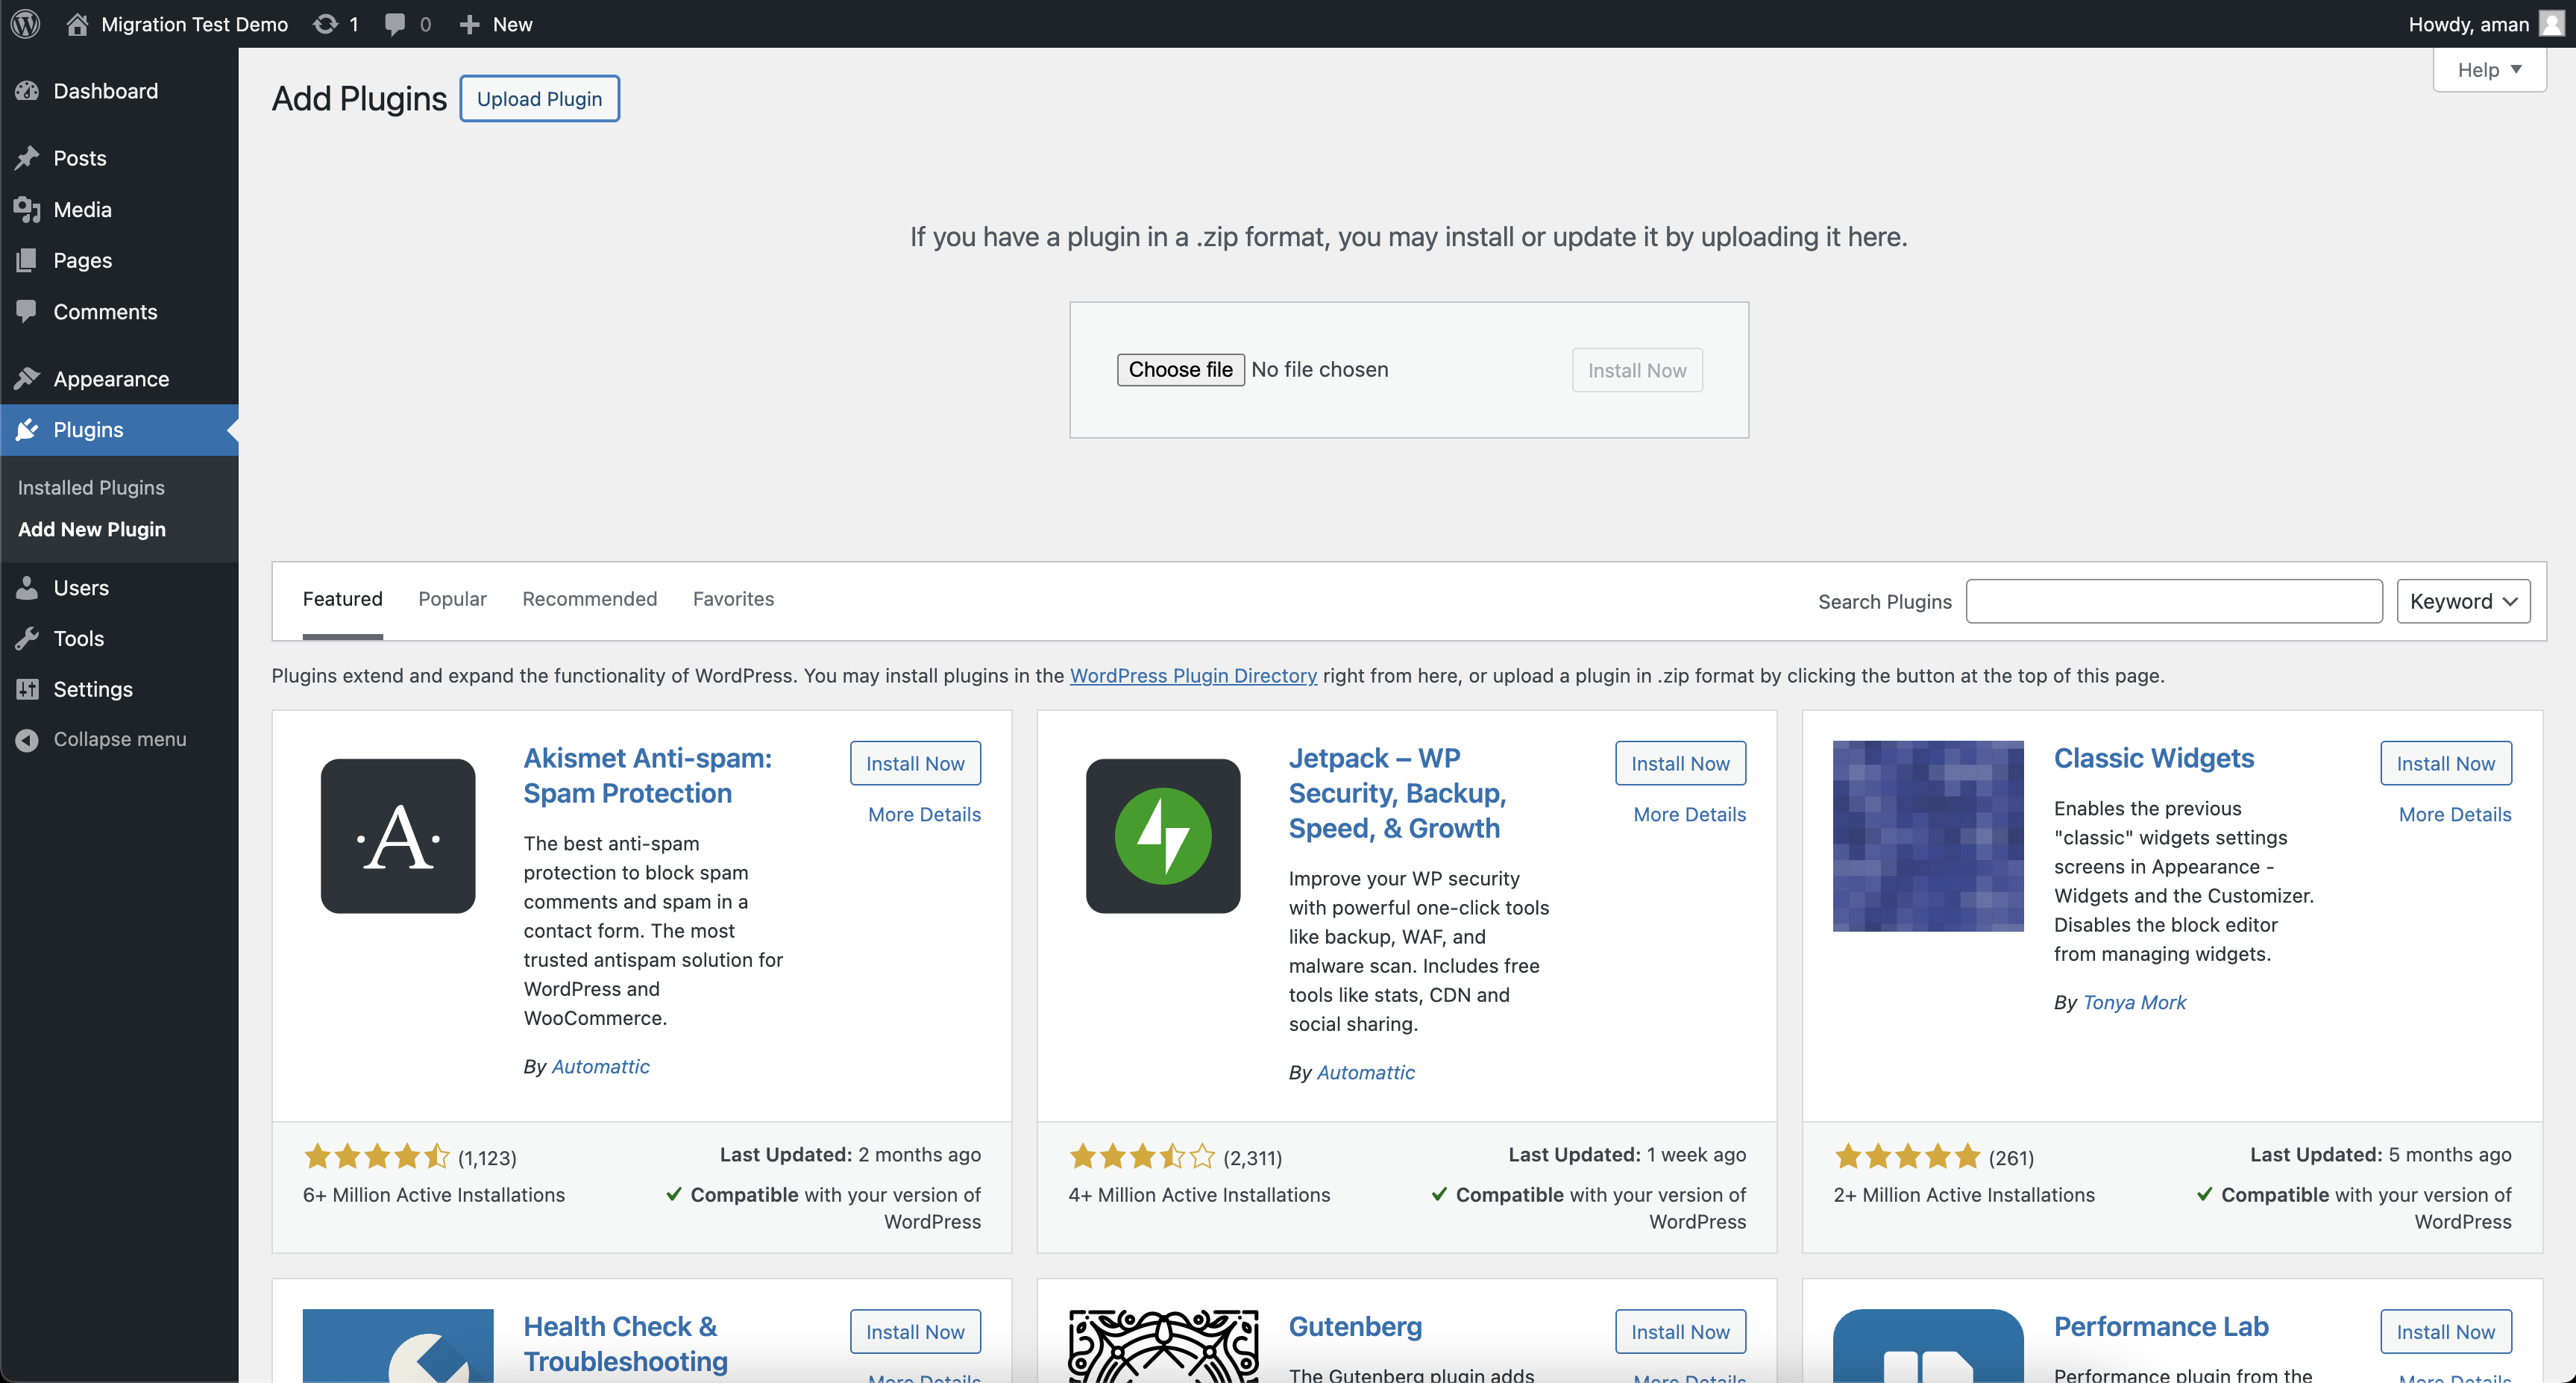
Step 3: Activate the Plugin
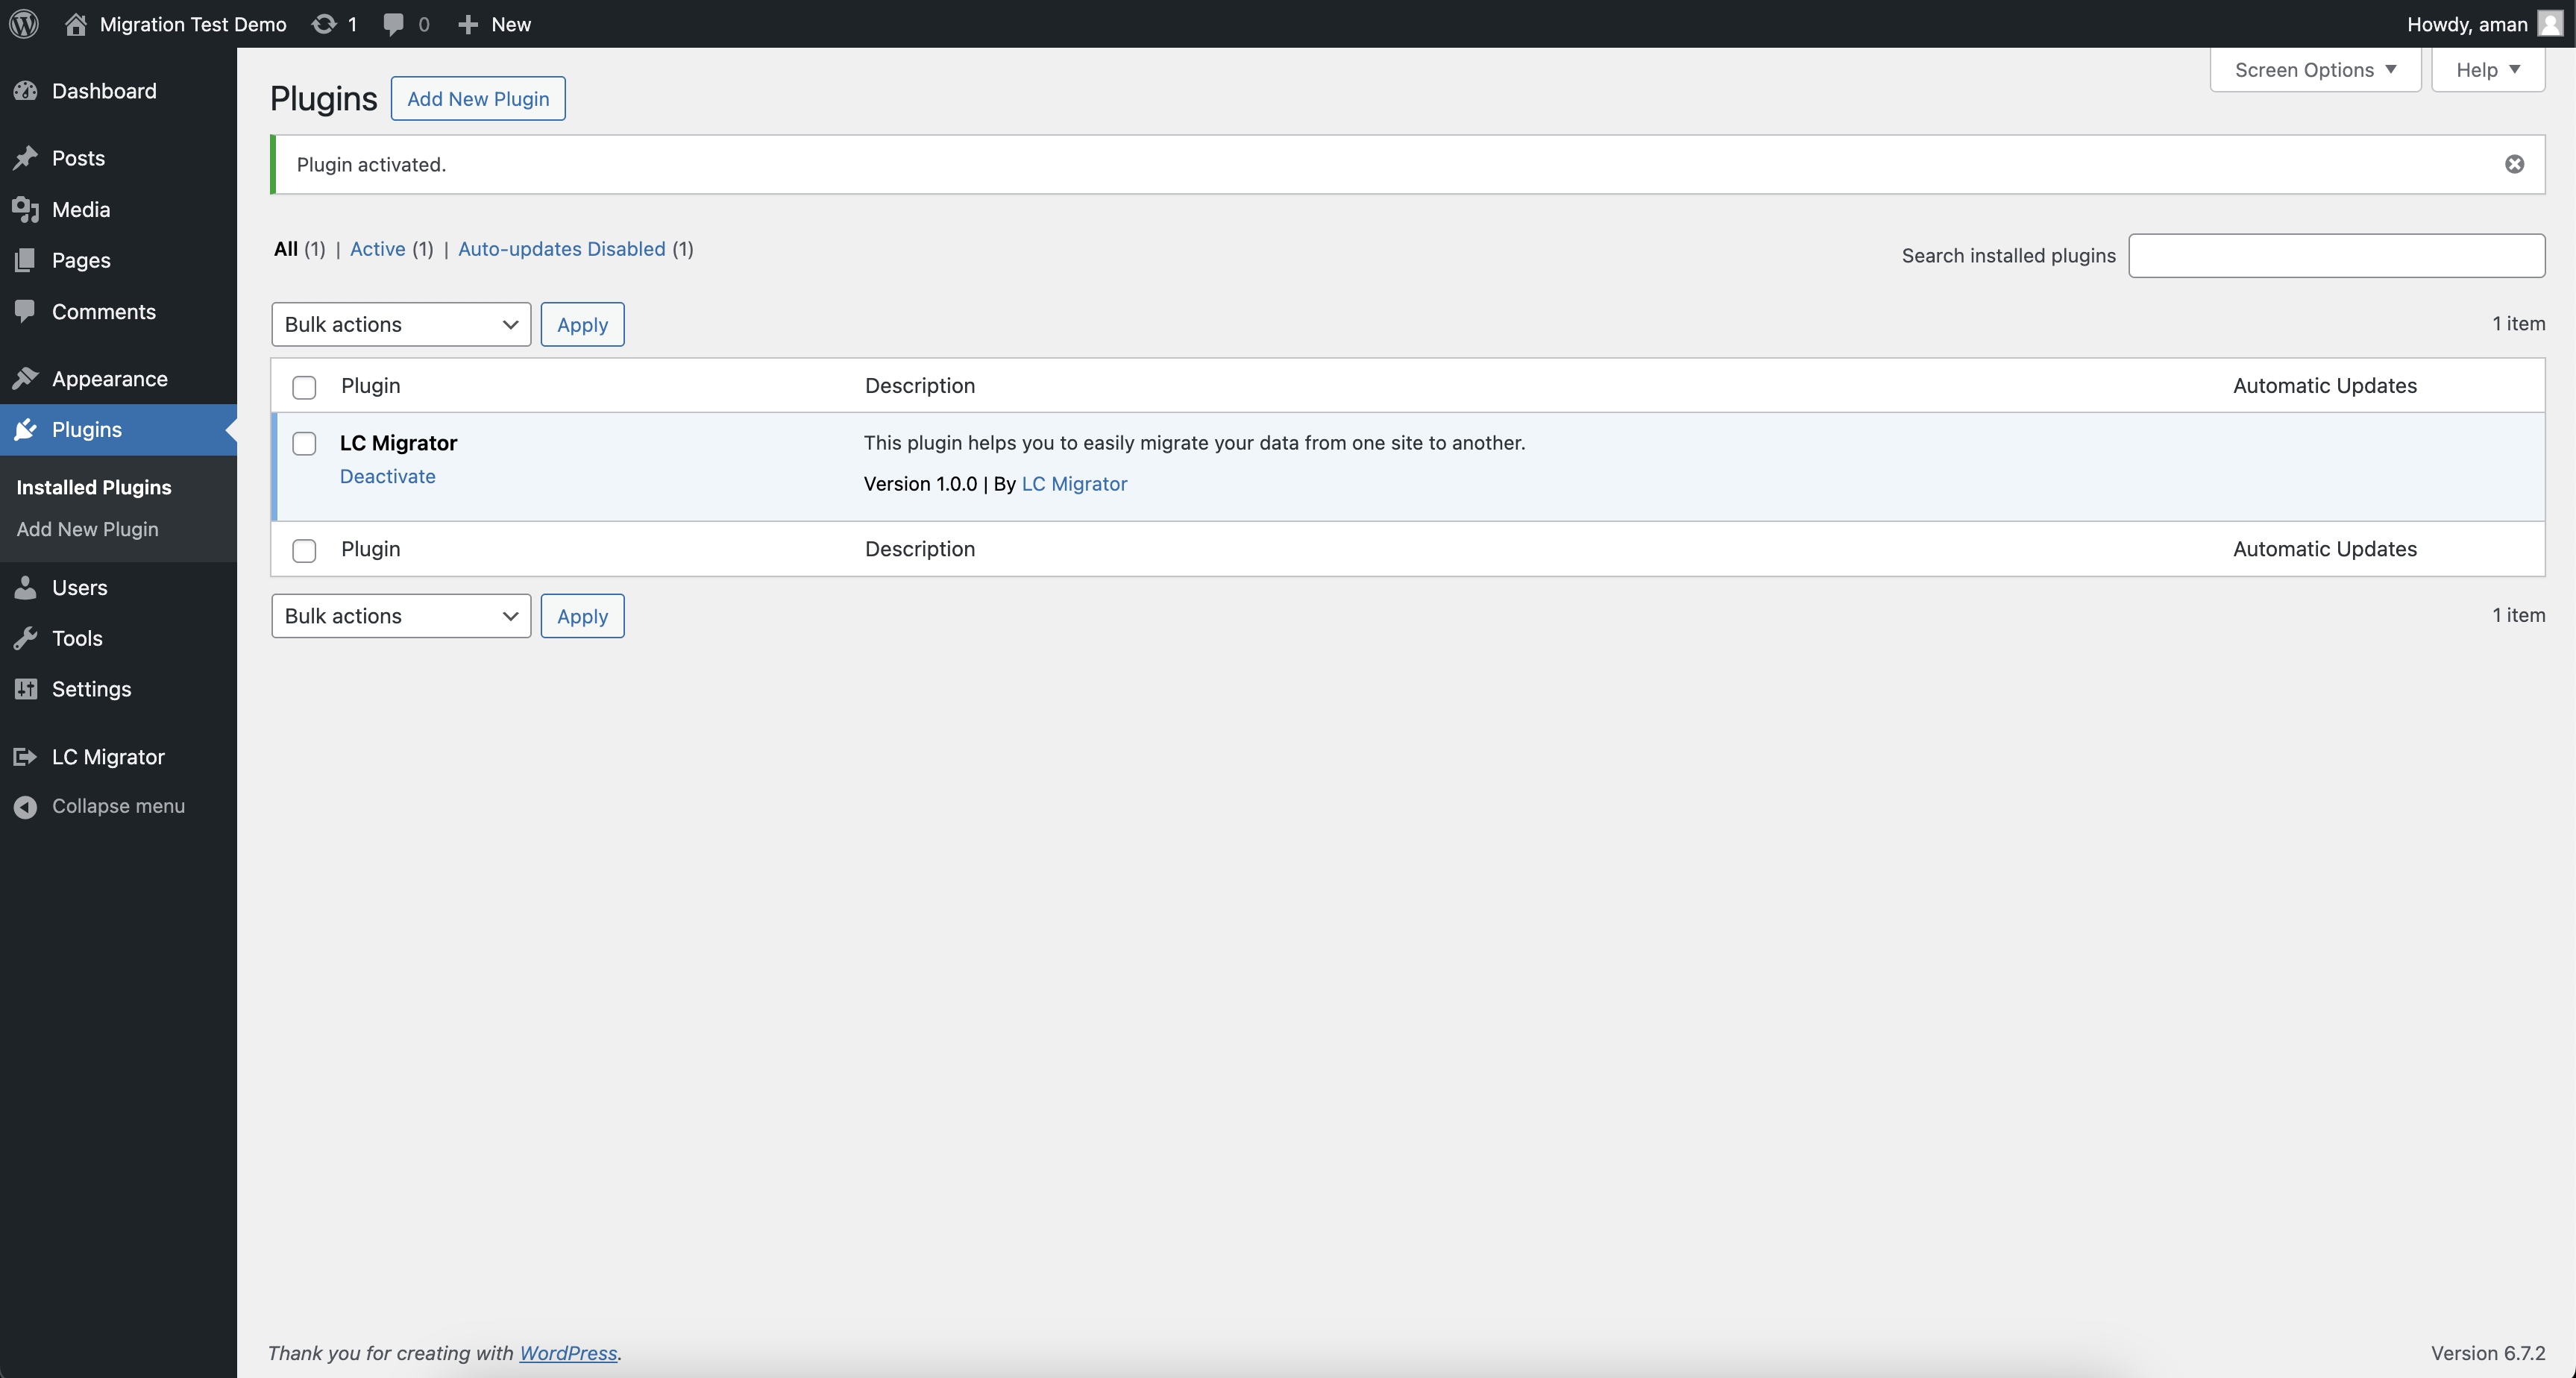
After installation, click Activate Plugin.
Your LC Migrator plugin is now active and ready for use.
Step 4: Open the LC Migrator Plugin
In the WordPress sidebar, locate and click on LC Migrator (you may need to scroll down).
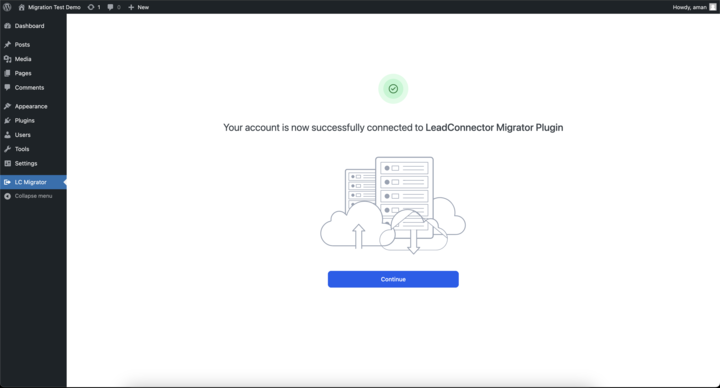
Log in using your hosting credentials.
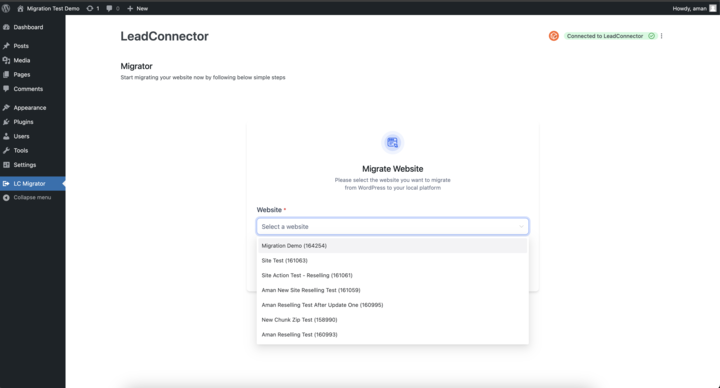
Select the destination site where you want to migrate your content.
Step 5: Start the Migration
After selecting the destination, click Continue.
Choose the target website from the list.
Confirm that you understand the existing site’s content will be replaced.
Click Start Migration.
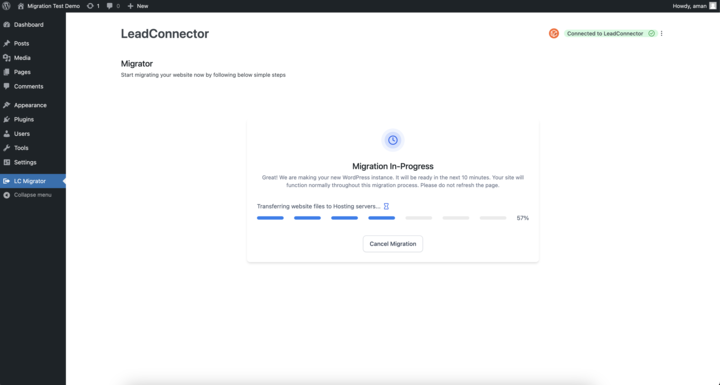
Step 6: Monitor the Migration
The migration process typically takes 10 to 15 minutes for larger sites.
You can cancel the migration at any point before the final step (cancellation at the last step is not possible).
Step 7: Migration Complete
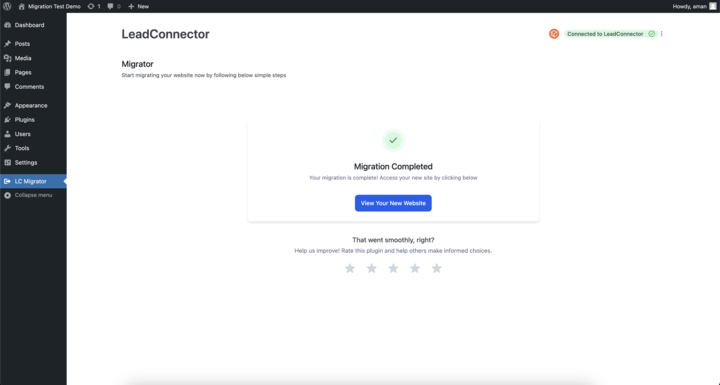
Once completed, you’ll see a Migration Completed message.
You can now visit and manage your newly migrated site.
Option 2: Manual Migration (Using the All-in-One WP Migration Plugin)
Best For: Users comfortable with manual file exports/imports (.wpress files)
Use Case: Migrating from a backup or when a .wpress file is already available.
How to Use:
On the Source WordPress Site:
Install and activate the All-in-One WP Migration plugin.
Export your website to generate a .wpress file.
On the Destination WordPress Site:
Log in to your hosting dashboard.
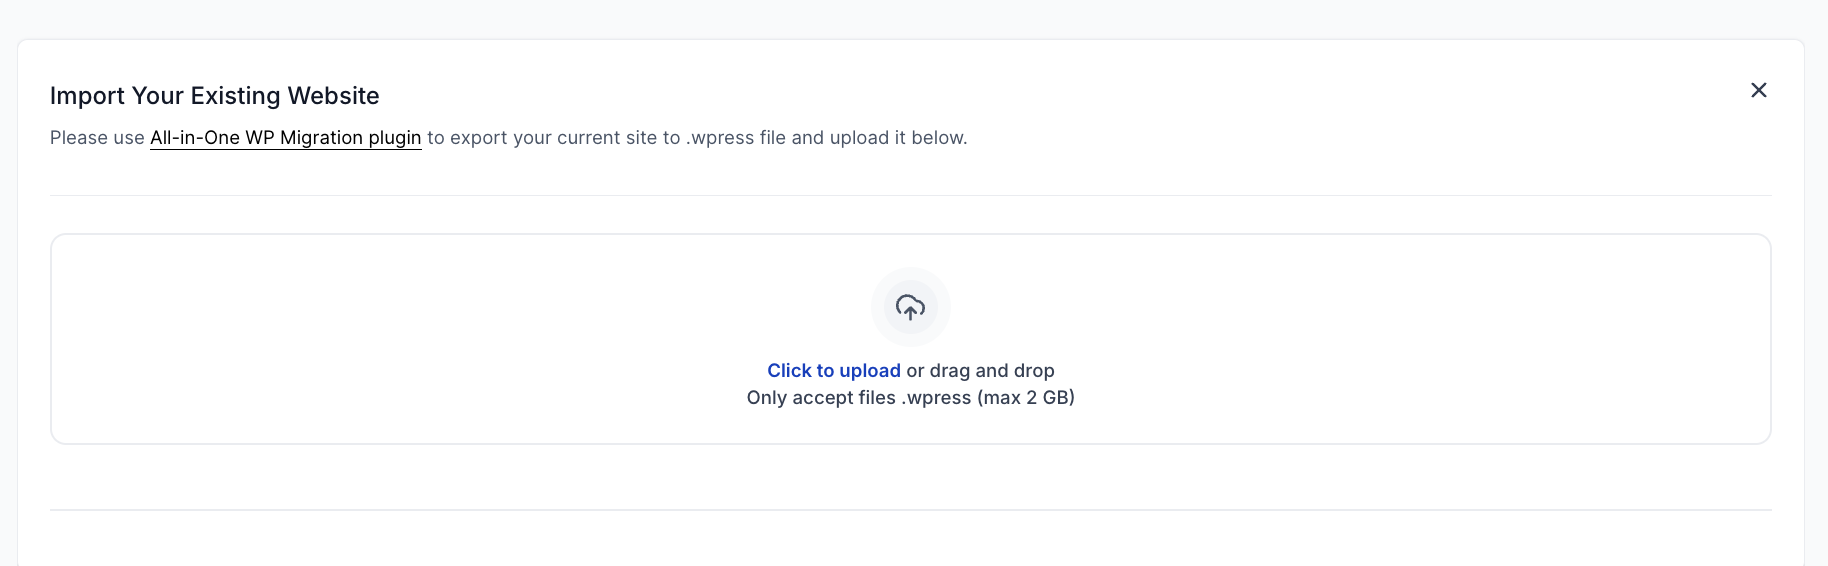
Navigate to WordPress → Import Existing Website.
Click Choose File and upload the .wpress file (Max size: 2GB).
Wait for the upload and deployment to complete.
⚠️ Note: This method overwrites all existing content on the destination site. Incremental updates are not supported.
Which Option Should I Choose?
| Scenario | Best Option |
|---|---|
| Fastest self-service method | LC Migrator Plugin |
| Have a .wpress file ready | Manual (AIO) Migration |
| Need to migrate multiple sites | LC Migrator Plugin |